
How to Choose the Right ND Filter for Drone Video
ND4, ND8, ND16, ND32 - which one to use and when. A simple system for picking the right filter in any light, and why it makes such a difference to your footage.
One of the most common questions from new drone pilots is why their video looks choppy or over-sharp compared to professional footage - even when they've dialled in the camera settings. The answer is almost always ND filters. Getting this right transforms aerial footage from looking like a phone video to looking like a proper film. Here's everything you need to know.
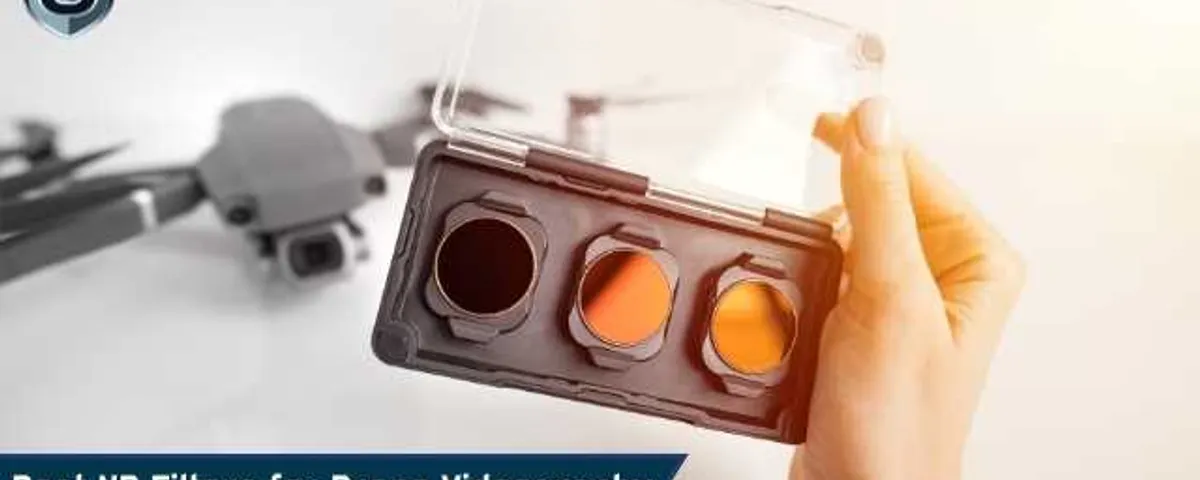
What ND filters actually do
ND (neutral density) filters are essentially sunglasses for your drone's camera. They reduce the amount of light reaching the sensor without changing colour - allowing you to use a slower shutter speed in bright conditions than you could without them.
For photos, this gives you creative control over exposure. For video, it's not optional - it's essential. Here's why.
The 180-degree shutter rule
Cinematic video relies on a specific relationship between frame rate and shutter speed called the 180-degree rule: your shutter speed should be double your frame rate. So:
- 25fps → 1/50s shutter
- 30fps → 1/60s shutter
- 60fps → 1/120s shutter
This shutter speed creates the right amount of motion blur on moving subjects - the blur your eye naturally perceives in motion. Without it, footage looks unnaturally sharp and "stuttery", like a video game. The problem outdoors is that 1/50s in bright sunlight massively overexposes the image. An ND filter brings the exposure back to the correct level while keeping the shutter speed where it needs to be.
Why generic ND filter advice can mislead you
Search for "which ND filter to use" and you'll find dozens of articles - many generated by AI - all giving the same basic chart: ND4 for overcast, ND8 for haze, ND16 for sun, ND32 for bright sun. That chart is a useful starting point, but it's incomplete in one important way: it ignores your drone's lens aperture.
Different drones have very different lenses. A DJI Mini 4 Pro has a fast fixed f/1.7 lens that lets in roughly two-and-a-half times more light than the f/2.8 lens on a Mini 4K or Air 2S - so it needs a stronger ND filter in the same conditions. A Mavic 3 has a variable aperture (f/2.8 to f/11), which means it can stop down and often needs a lighter filter, or none at all. The ND filter that produces a perfectly exposed shot on one drone may overexpose or underexpose on another - even in identical conditions.
This is the gap that most online guides, and almost all AI-generated articles, don't address. They give you a one-size-fits-all chart that was probably written with a specific drone in mind. Apply it to a different model and your exposure may be off by a full stop or more.
Which ND filter for which conditions (as a starting point)
ND filters are rated by how many stops of light they reduce. The numbers (ND4, ND8, ND16, ND32) represent the fraction of light they let through - an ND4 lets through 1/4 of the light (2 stops), an ND8 lets through 1/8 (3 stops), and so on.
- ND4 (2 stops): Golden hour, heavily overcast days, or shaded locations. Very light reduction - use when it's already fairly dark.
- ND8 (3 stops): Overcast bright days, hazy sunshine, or coastal light. Often the most versatile filter for UK flying conditions.
- ND16 (4 stops): Bright sunny days with some cloud. Covers most sunny-but-not-harsh conditions.
- ND32 (5 stops): Strong direct sun, midday summer light, flying over snow or water that reflects additional light.
These are general starting points only. Your drone's lens aperture (and whether it can be stopped down) and base ISO will shift these recommendations. Always verify against your exposure meter on location - don't just pack the "right" filter based on a generic chart.
Polarising filters - different tool, different job
A circular polariser (CPL) is sometimes confused with ND filters but does something different: it cuts glare and reflections from water, glass, and wet surfaces, and deepens blue sky colours. It also reduces light by 1–2 stops as a side effect.
You can combine a CPL with an ND filter, but reduce the ND strength accordingly. Some manufacturers sell ND/PL combo filters for exactly this.
Common mistakes
- Using Auto shutter speed with an ND filter: The camera will just compensate, defeating the purpose. Always set shutter speed manually.
- Wrong ND for the light: Too strong an ND in low light means you'll crank ISO to compensate, adding noise. Too weak in bright sun leaves you overexposed or forces a shutter speed that's too fast.
- Forgetting to change filter: Conditions change through a flight. An ND32 on takeoff in full sun may be too strong after a cloud rolls in. Have multiple filters ready to swap.
- Cheap filters introducing colour cast: Low-quality ND filters can add a green or magenta tint. Buy from reputable manufacturers - PolarPro, Freewell, and Kase are widely trusted.
- Trusting a generic filter chart for your specific drone: If you're using a chart written for a drone with a different lens aperture, your starting point will be wrong. Always dial in the exposure meter on location.
Get the right recommendation for your specific drone
Drone Companion's ND filter calculator offers a model-aware estimate for supported DJI aircraft, frame rates, and lighting conditions. It uses a target shutter guideline and supported camera information to suggest a shutter speed and filter range; it does not measure your live exposure or guarantee the exact filter needed. Check the image and histogram on location and adjust for actual light and camera settings.